


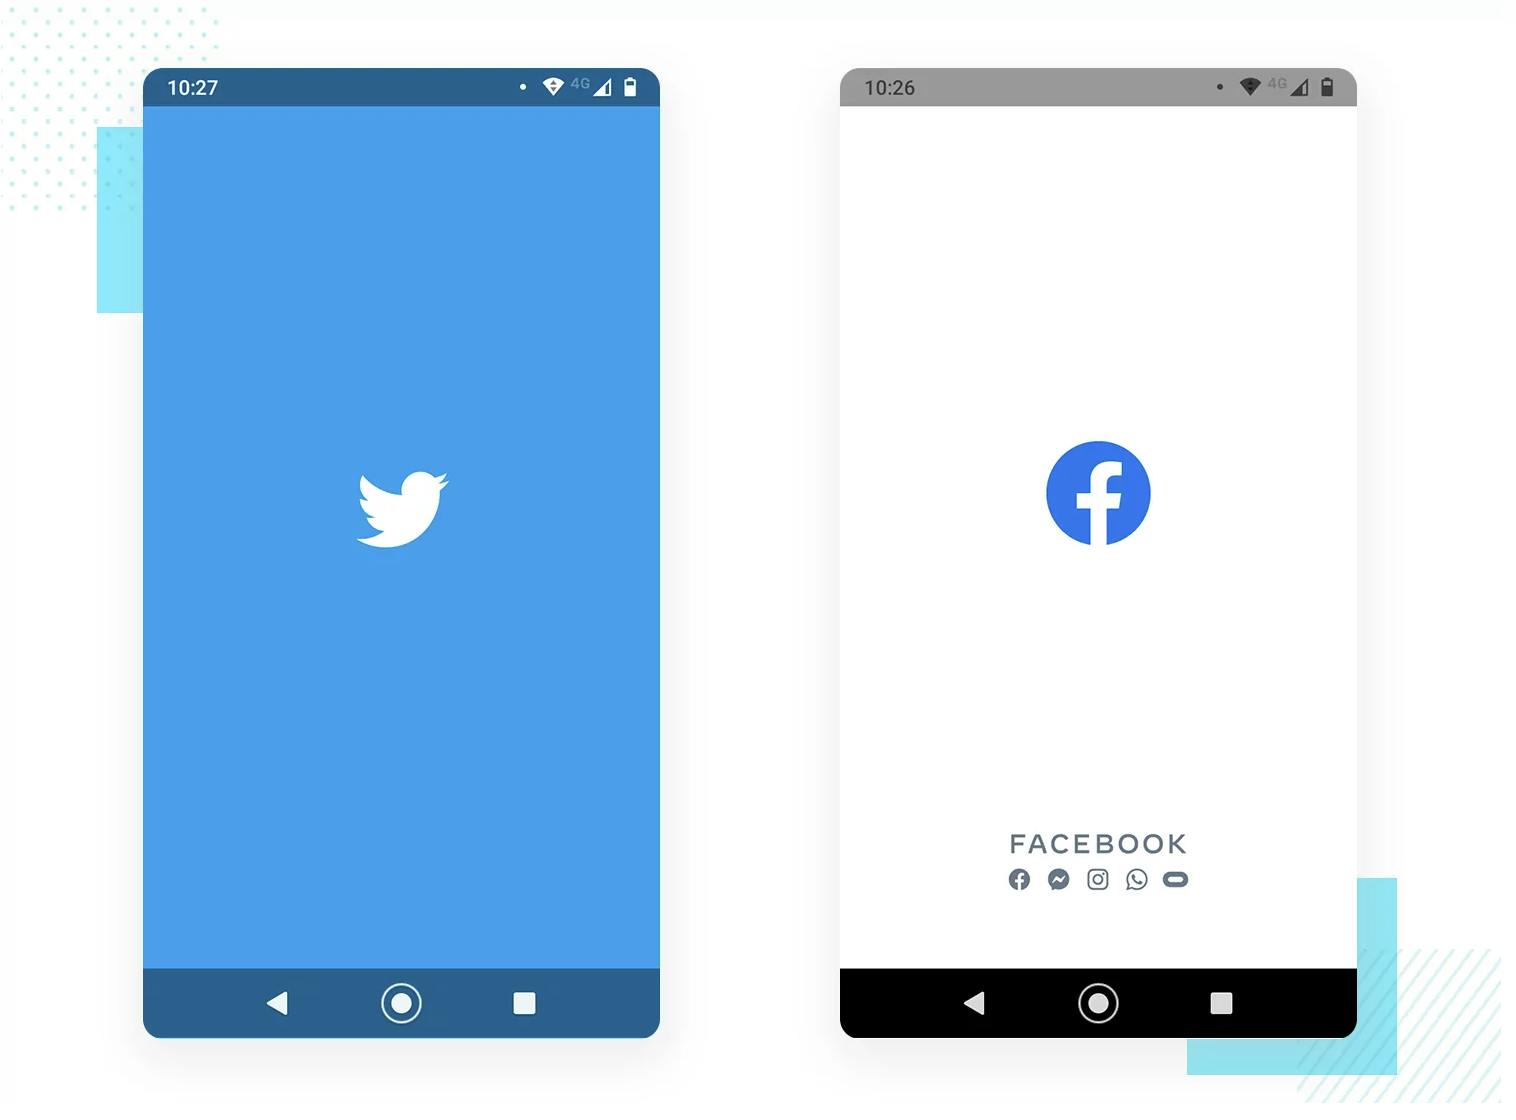
If you have opened any mobile application in the last few years, then you have probably noticed the splash screens.
Sometimes referred to as launch screens or startup screens, splash screens are the screens that show up when your app is loading for the first time.
The goal of the splash screen is to offer users a good experience. We show a branded image or animation that tells users that the app is loading while, under the hood, we authenticate them, we load assets or make other API calls.
 Source: justinmind.com
The setup
Before starting this project, make sure you save this gorgeous photo (so we can use it as a splash screen) and download the OpenSans font from Google Fonts.
Now that we have our assets, let’s run npx create-expo-app splash-app to create a new Expo project.
After all the dependencies have been installed, open the app in your favorite code editor, and in the assets folder place the fonts downloaded from Google Fonts and replace the default splash image with the custom one that we have saved earlier. Our folder should now look like this:

Then go to the app.json file, update the path to the splash image and choose cover as a resizeMode.
"splash": {
  "image": "./assets/wave-splash.png",
  "resizeMode": "cover",
  "backgroundColor": "#ffffff"
},
Preload fonts and cache images
Caching resources translates into a better user experience because, if users lose connection, they will still be able to see your fonts and images, and also because all resources will load faster.
Bundling assets into your app will provide for the best user experience as your assets will be available immediately. Instead of having to make a network request to the CDN to fetch your published assets, your app will fetch them from the local disk resulting in a faster, more efficient loading experience.
First step is to install the necessary dependencies. Run expo install expo-splash-screen expo-asset expo-font.
I like to keep my files organized so I will create a new folder called src and a subfolder called assets where I will place 2 new files: fonts.js and images.js
Using expo-fonts and expo-asset libraries we now write functions to pre-load our fonts and respectively to cache images from static resources or to prefetch the ones from the web.
import * as ExpoFont from 'expo-font';

const OpenSans = 'OpenSans';

export const prepareFonts = async () => {
  await ExpoFont.loadAsync({
    [OpenSans]: require('../../assets/OpenSans-Regular.ttf'),
  });
};


export default OpenSans;
import { Asset } from 'expo-asset';
import { Image } from 'react-native';

const cacheImages = images => {
  return images.map((image) => {
    if (typeof image === 'string') {
      return Image.prefetch(image);
    }
    return Asset.fromModule(image).downloadAsync();
  });
};

export const preloadImages = async () => {
  try {
    await Promise.all(cacheImages([]));
  } catch {
    console.log('Asset prefetch ended early. Promise.all[] aborted.');
  }
  try {
    Promise.all(cacheImages([])).then();
  } catch {
    console.log('Big asset prefetch ended early. Promise.all[] aborted.');
  }
};
Show splash screen
Our final goal is to keep the splash screen visible while loading fonts and images and then hide the splash screen when the app has rendered some initial content.
Implementing the logic described above might seem dauting, but if you follow the official documentation it is as simple as 1, 2, 3:
import { StatusBar } from 'expo-status-bar';
import { StyleSheet, Text, View } from 'react-native';
import { preloadImages } from './src/assets/images';
import { prepareFonts } from './src/assets/font';
import {useState, useEffect, useCallback} from 'react'
import * as SplashScreen from 'expo-splash-screen';


export default function App() {
  const [appIsReady, setAppIsReady] = useState(false);

  useEffect(() => {
    (async () => {
      try {
        await SplashScreen.preventAutoHideAsync();
        await preloadImages();
        await prepareFonts();
       // Artificially delay for two seconds to simulate a slow loading experience.
        await new Promise(resolve => setTimeout(resolve, 2000));
      } catch (e) {
        console.warn(e);
      } finally {
        setAppIsReady(true);
      }
    })().then();
  }, []);

  const onLayoutRootView = useCallback(async () => {
    if (appIsReady) {
      try {
        await SplashScreen.hideAsync();
      } catch (e) {
        console.warn(e);
      }
    }
  }, [appIsReady]);

  if (!appIsReady) {
    return null;
  }

  return (
    <View style={styles.container} onLayout={onLayoutRootView}>
      <Text style={styles.title}>Assets are loaded.</Text>
      <Text style={styles.title}> Welcome to our splash app 🌊 </Text>

      <StatusBar style="auto" />
    </View>
  );
}

const styles = StyleSheet.create({
  container: {
    flex: 1,
    backgroundColor: '#fff',
    alignItems: 'center',
    justifyContent: 'center',
  },
  title: {
    fontFamily: 'OpenSans',
    fontSize: 16,
  }
});
And now, every time we open our app, we will show the splash screen until all assets are loaded:
Github code: github.com/Laviniaxyz/splash-app.git